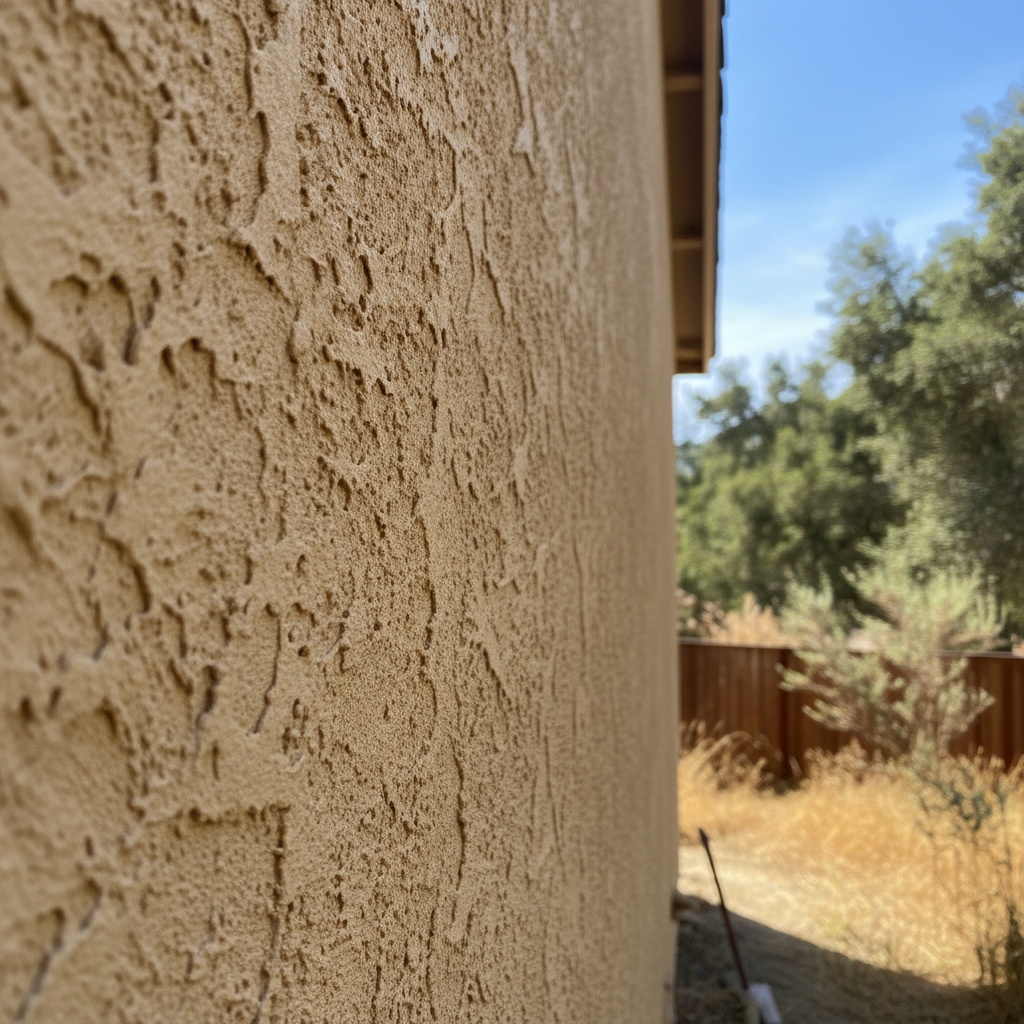
Tackling a stucco project around a house in the Santa Cruz Mountains takes some planning. If you live up here near Highway 9 or tucked into the redwoods, your exterior walls deal with heavy winter moisture, thick morning fog, and plenty of shade that keeps things damp longer than down in the valley. Whether you are patching up a damaged section or looking at a bigger overhaul, knowing what to expect before, during, and after the work makes a big difference in how the finish holds up.
Before the Project Starts
Preparation is where most DIY jobs fail before a single bag of mix gets opened. You need to inspect the existing substrate closely. If you see soft wood framing behind cracking stucco, stop right there. Redwood framing can hide moisture damage, especially in shaded Felton lots where the sun takes until noon to hit the siding. Check your flashing, weep screeds, and clearance from the soil line. You want to make sure water drains away from the wall rather than pooling against it.
Can you handle this prep phase yourself? Absolutely. Power-washing dirt and mildew off the walls, masking windows, protecting nearby landscaping, and chipping away loose, crumbly material are great weekend tasks for homeowners. But if you find structural rot or extensive water intrusion, that is your cue to step back.
During the Execution
When the actual application begins, the complexity ramps up quickly. Stucco relies on a precise multi-layer system—typically a scratch coat, brown coat, and finish coat—that needs to cure under the right conditions. If a sudden mountain drizzle hits fresh stucco, or if it dries out too fast under blazing afternoon sun, the wall will crack and fail prematurely.
Mixing ratios matter immensely here. Pacific Stucco sees plenty of DIY patches fail because the sand-to-cement ratio was off or the bonding agent was skipped. If you are doing a tiny patch on a garden wall, go ahead and give it a shot with a pre-blended bag. But if you are doing a whole side of a house, trying to maintain a wet edge and get a uniform texture by yourself will drive you nuts. This is definitely when you want a professional crew on site.
After the Work is Complete
Once the stucco is up, your job is not quite finished. Curing requires moisture. You might need to gently mist the new walls over a few days depending on the weather. Do not rush to paint fresh stucco either; let it breathe and cure fully for at least 28 days unless you are using specific alkali-resistant primers.
Keep an eye on hairline cracks as the seasons shift and the ground settles. Small shrinkage cracks can usually be sealed with a quality elastomeric caulk or specialized masonry sealer during your annual spring maintenance. If cracks start widening or shifting, call in an expert to check for underlying movement.